Wednesday, August 27, 2014

Folding Outfeed Table

Why did I wait so long?

I should have made one of these right after I got my saw, like ten years ago. I finally got around to making one a few months ago, and it is great. I used 2x4s and MDF, pocket-hole screws, some bolts to attach it to the rail on the back side of my saw, and a piano hinge so I could fold it down. I used some knobbed bolts to tighten the folding legs in place, and some adjustable feet to fine tune the height. For the most part, I leave the table up but I like being able to fold it down and free up some floor space when I need to. It sure is nice when you are cutting some long stock, and you don't have to worry about it falling on the floor.


You can download a Sketchup model of the construction here.

Wednesday, August 6, 2014

Rack'em Up

Lathe Gouge Rack

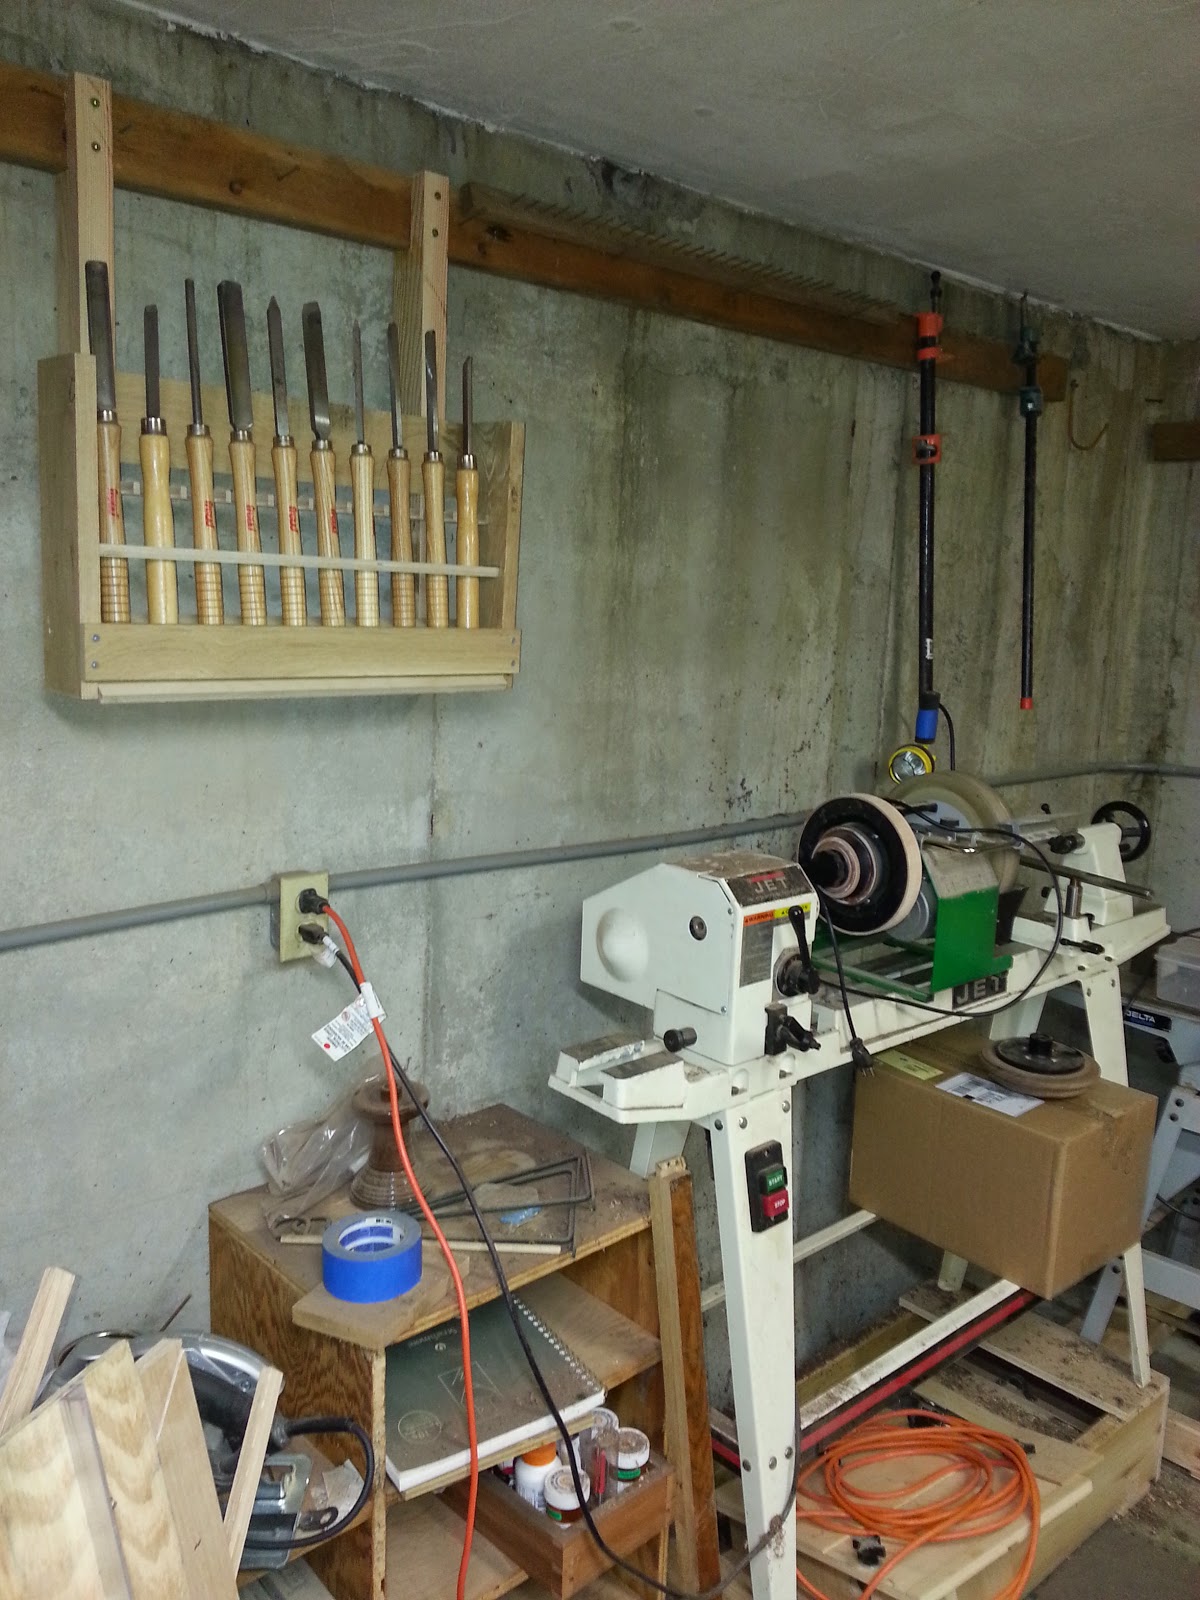
I got some new bowl gouges and a new roughing gouge and decided it was time to figure out were to put all my gouges, large and small, so I could get to them at the lathe without them being in the way and falling on the floor.

I saw some great ideas online and copied them.

I am still in the process of making my racks. I might end up with just two to start with, a large and a small, each holding 10 gouges. Here are the images of what I have come up with so far:

These are what I have to rack. I won't rack all of small ones, since I won't ever use some of them. I got a crappie set with the lathe and I can keep most of those stored away somewhere else.

This is the idea. You cut holes (I used 1 3/4" diameter holes) in a strip of wood, and cut the strip into two halves, then position them along with a slanted bottom piece so that the gouges lock into place with gravity.


For the small gouges I had to reposition the guide strips. I marked the position of everything in each configuration , large and small, and will make one for each size. 

I got the small one made and mounted on the wall behind my lathe. 


I added a couple blocks to the front rail of the small one to hold a few items. I also finished the large rack and installed it. Now I can get back to turning.


Monday, June 16, 2014

The Plane Truth

You can handle the plane

 I finished the wooden jointer plane tonight. I turned a strike button from a piece of maple and installed it. I chamfered the top edges with my block plane and applied a coat of tongue oil to everything (except the iron). I did some test shavings and it seems to work fine. I also worked on a kanna (japanese plane) I got off of EBay, flattening its sole, and scraping the throat a little, and its works great now too. I am in plane heaven.


Here is the final plane.


Saturday, June 14, 2014

Oh, I forgot the button

One more thing

I got the tote done and installed today. I put it a little too close to the iron, but it is OK. I just have to use a little helper piece of wood to reach the top of the iron to strike it. I still need to put a strike button on the toe. I started to turn a piece of maple for a button, but I am missing a part on my lath that holds down the back part. It fell off and is laying around somewhere. I thought I could just glue a piece of wenge on there for now. Anyway, it turned out great. I planed the edges of some boards with it and I was getting fine shavings the whole length of the boards. Yay!

I used the tote template shown in the great tutorial by Sumokun at https://www.youtube.com/watch?v=TZ7zP4pajYo . I used quartersawn oak and oriented the grain about 45 degree so the little stub sticking out would be strong. I also enlarge the tote to fit my giant hands.

This is the plane after installing the tote. I chopped out the mortise for the tote with a chisel and flattened the bottom of the mortise with a router plane.


I will add the button, and chamfer the top outer edges and bevel the top edge of the wedge. The last step will be putting some finish oil on it.


Thursday, June 12, 2014

Just a tote to go

Almost there!

I cut the mouth in the laminated-on sole tonight and took some more test shavings. I also cut a segment of a branch that fell in the yard and made a push stick out it. I thought about trying to use it as a tote, but it wouldn't work very well.


Thursday, June 5, 2014

My Left Foot

Mystery Sprain

After I got the plywood for the display cabinet cut as was shown in the previous blog post, I woke up with a sore left foot and could barely walk on it. That was several weeks ago, and it has been a slow recovery. I have no idea what I did, but I blame voodoo.


Anyway I started hobbling around the shop this afternoon and worked on a wooden jointer plane I am building. I got the wood close to final size and am ready to start cutting and gluing the parts. I was nervous about planing the padauk with the thickness planer because of the red dust that comes off of it and goes everywhere, so I got an solid plastic extension piece for my shop vac and cut a slot in it so it just fit over the exit guard and taped up one end of it, and attached the shop vac to the other. It worked great.

 This is after planing down a bunch of pieces. There were no chips or dust to clean up, on the back end anyway. There was a bit of dust and chips that fly back out the front, but not much. I measured the width of the guard, and removed that amount from the center of the extension, taking out two ribbed sections worth (you can see about 2 1/2 sections worth in the picture.) I didn't have to screw it on or anything, just a friction fit.

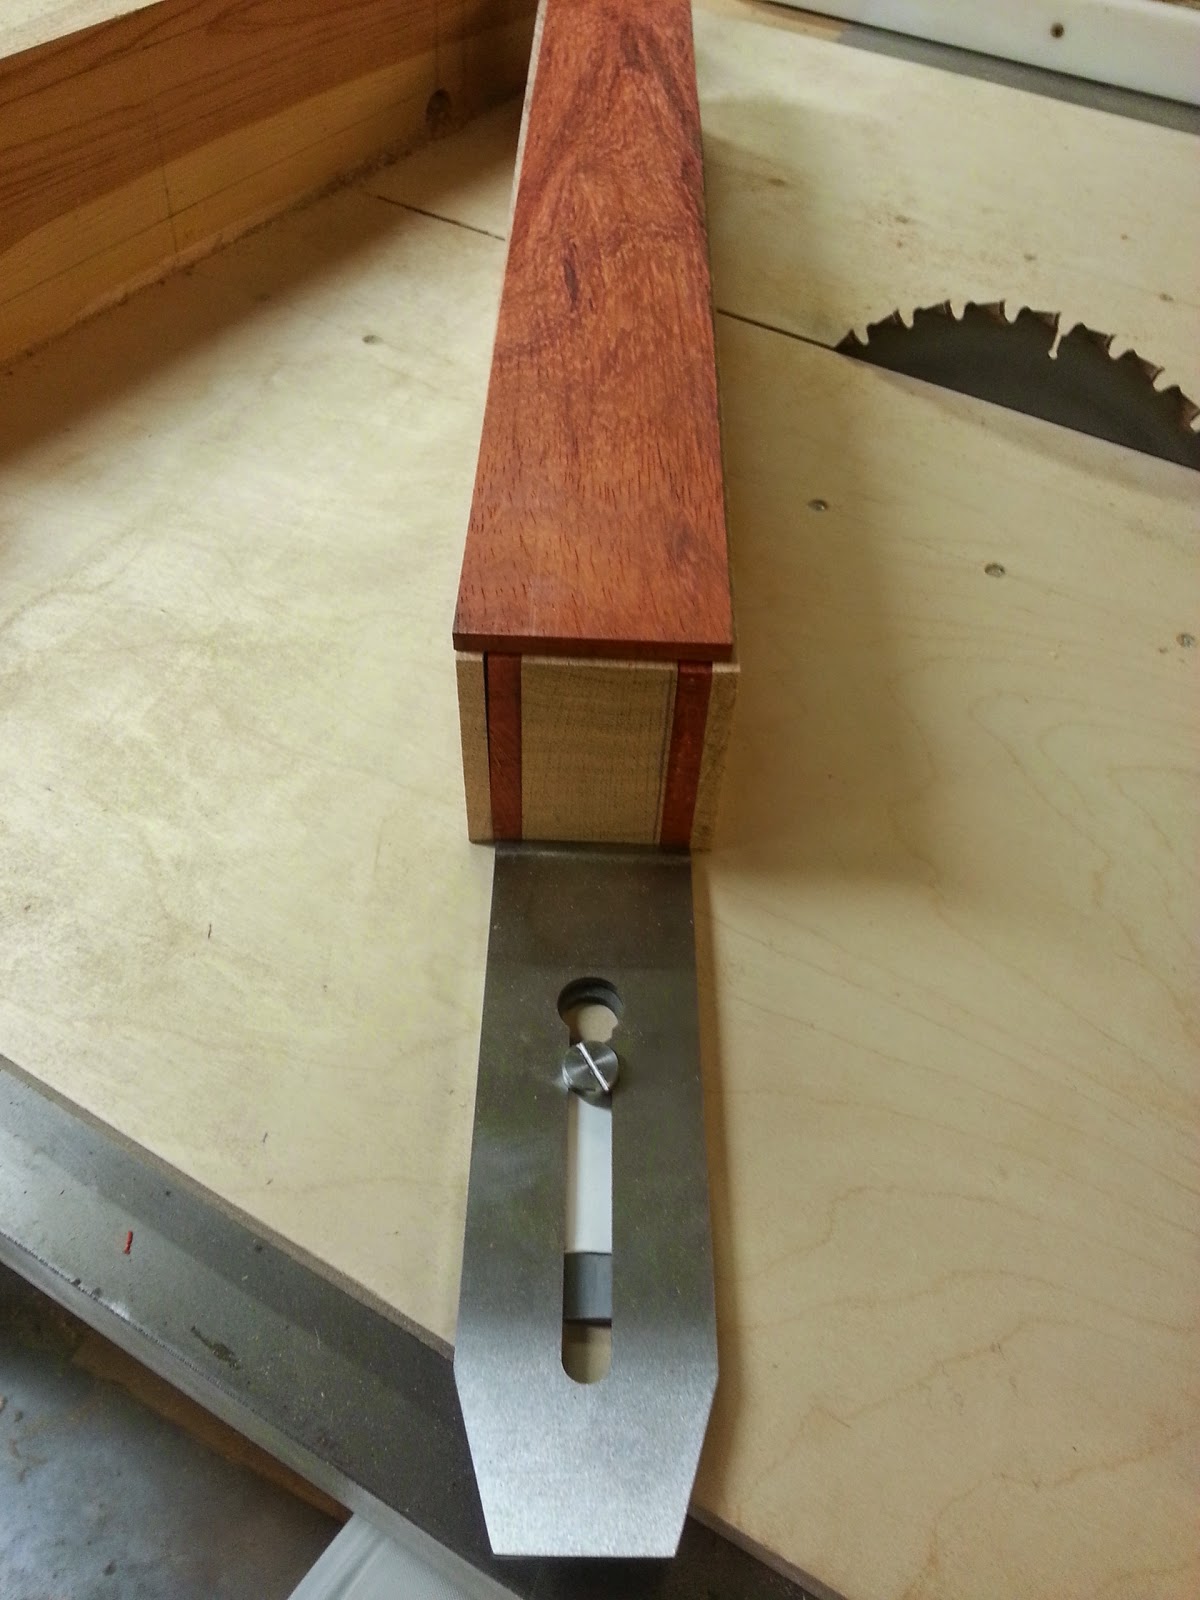
I am using white oak and padauk for the body and sole of the plane. It should end up around 22 inches long. I am using a jointer plane iron and chip breaker, both being 2 3/8" wide, from Lie Nielsen.

Trying to visualize what the plane will look like with the iron in place.

I am using two layers of padauk for the wedge wall for the plane. The body and wedge walls together are 1/16th inch wider than the blade.


I can't stay on my feet very long, but I will try to get back to cutting the plywood for the display cabinet to final lengths, and start cutting the dados. I also plan on making a trimmer/chisel plane. I am waiting for the Stanley replacement block plane iron to come before I do too much on that. It might come today. 

PS: The Stanley replacement block plane iron was in the mail box, so I went back down and made a chisel/trimmer plane real quickly. I used a bit of the body stock I cut off the wooden plane.


Saturday, May 17, 2014

Display Cabinet 1

Getting Started

We have a stone chimney running up against the north wall of our living room, and we used to have a book case in front of it. There needs to be something in front of it or it just looks wrong. The book case was OK, but we really need something different there. I saw a design for a mission style display case, and I modified it for my dimensions and used quarter-sawn oak veneered plywood from Menards instead of solid quarter-sawn oak boards glued together. I will glue solid oak around the exterior edges, including the bottom edges to mask/protect any edges that will be exposed.

Here is an image of the design from SketchUp:

The two colors just show the plywood vs solid oak. The colors will match in the final piece.

I got the two sheets of 3/4inch 4x8 solid veneer core quarter-sawn face veneer plywood a couple days ago. I set up a cutting platform behind my truck before unloading the plywood. I used my two shopdogs, a plywood grid I made, and a piece of 3/4-inch 4x8 styrofoam insulation to make the cutting platform. I could just slide the sheets of plywood out of the truck onto the cutting platform and cross-cut them down into manageable pieces for the table saw.


I only had to make one cross-cut on each sheet, but that made them small enough for me to start cutting them down for width on the table saw. I got to use my table saw extension table for the first time. It was nice not worrying about the wood falling off the end of the table saw onto the floor.

The sheets after cross cuts with circular saw. The sheets came face up in the package, so I added some painters tape to stop any big tear-out.

This is the cutting diagram. I ended up taking the kick plates (bottom left) from the right side of the other sheet so the grain would be running the right way.

I labeled each board as I ripped them with a Sharpie and some tape.

These boards will be the sides of the cabinet. I need to mark the tops on these because the grain looks a lot better with them oriented one way over the other. The rays/flecks catch the light a lot better.

Ripping the kick plates. The table saw extension flips down when I don't need it.

Now I can start cutting the boards to length. I will score the back face of the boards (down side on the table saw) to create a crisp line and avoid tear out on the two outside side boards. The front face (up side on table saw) should be OK since the blade cuts down into the wood.The other board's ends are all buried in a dado, so it is not an issue for them.